A supported Conow device
Lyra, CBE or Atlas balcony-solar / all-in-one energy storage.
Activated once in Conow ECO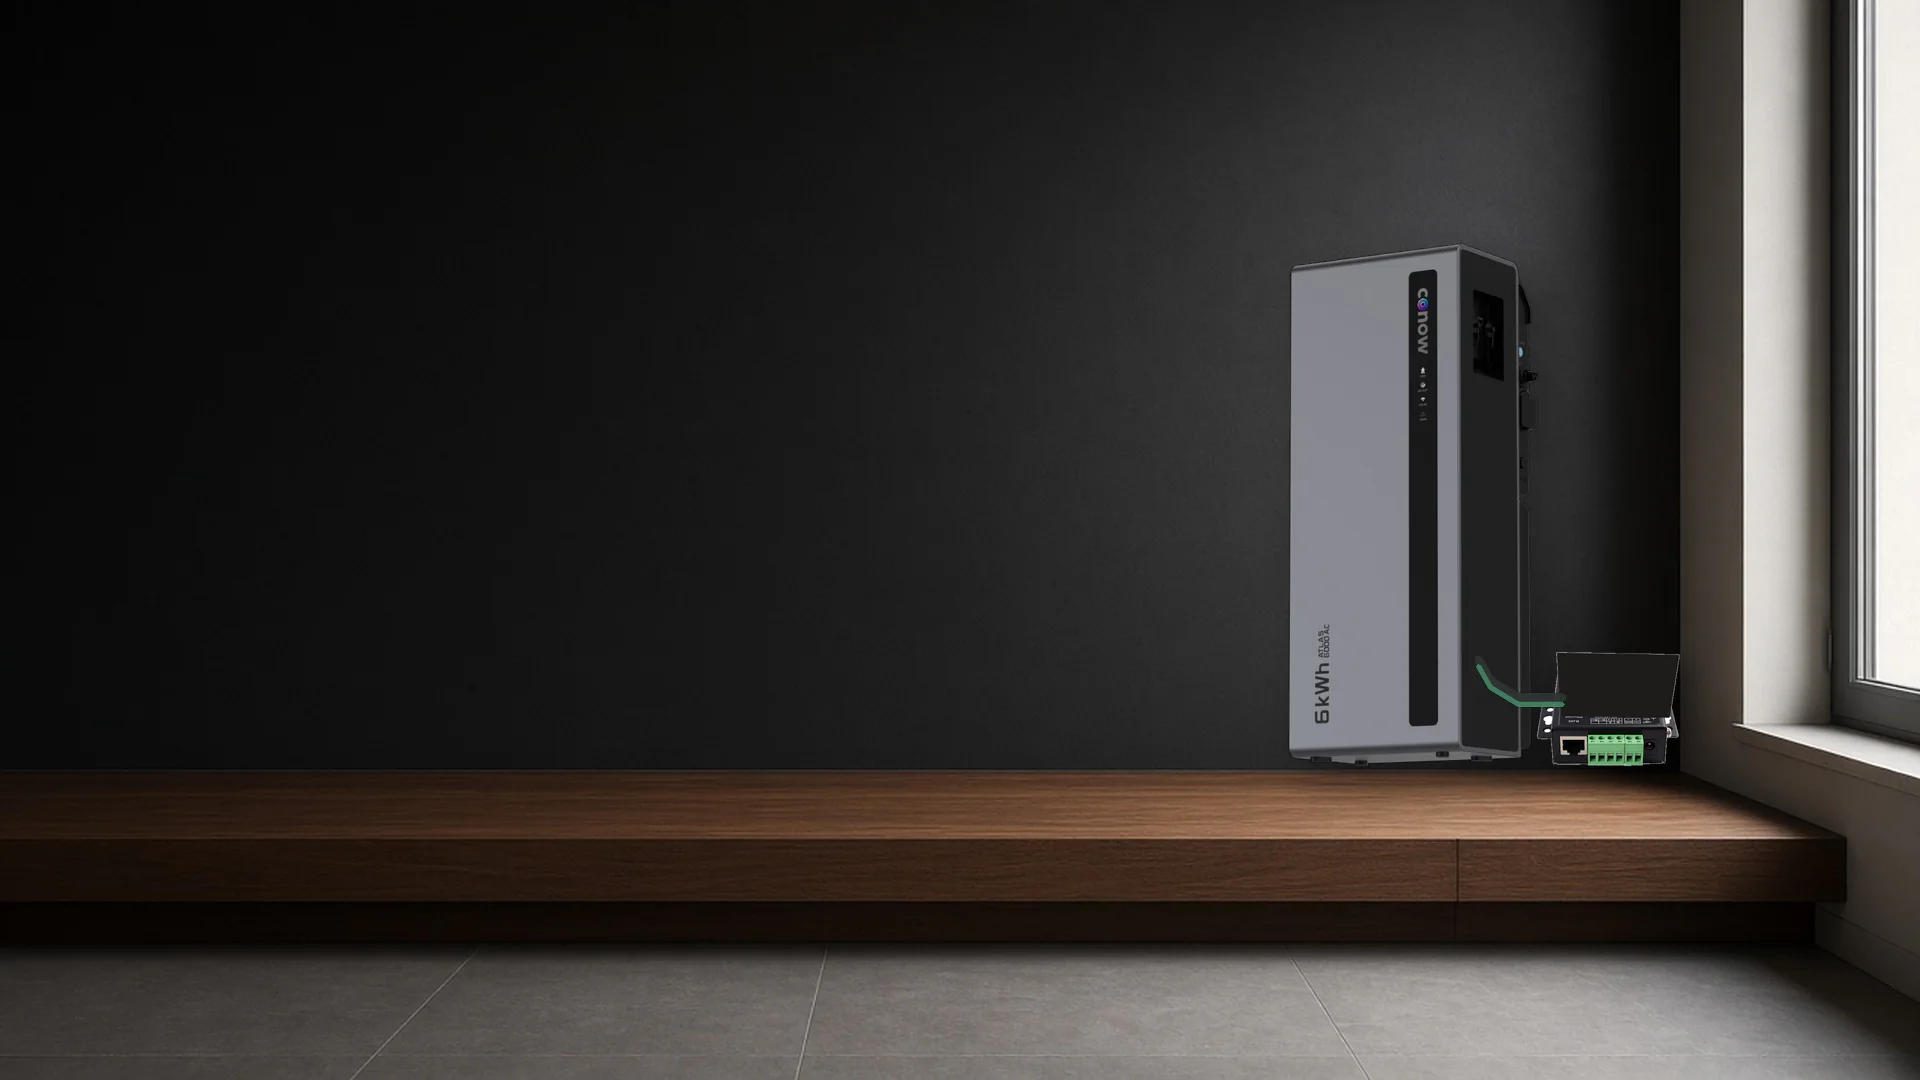
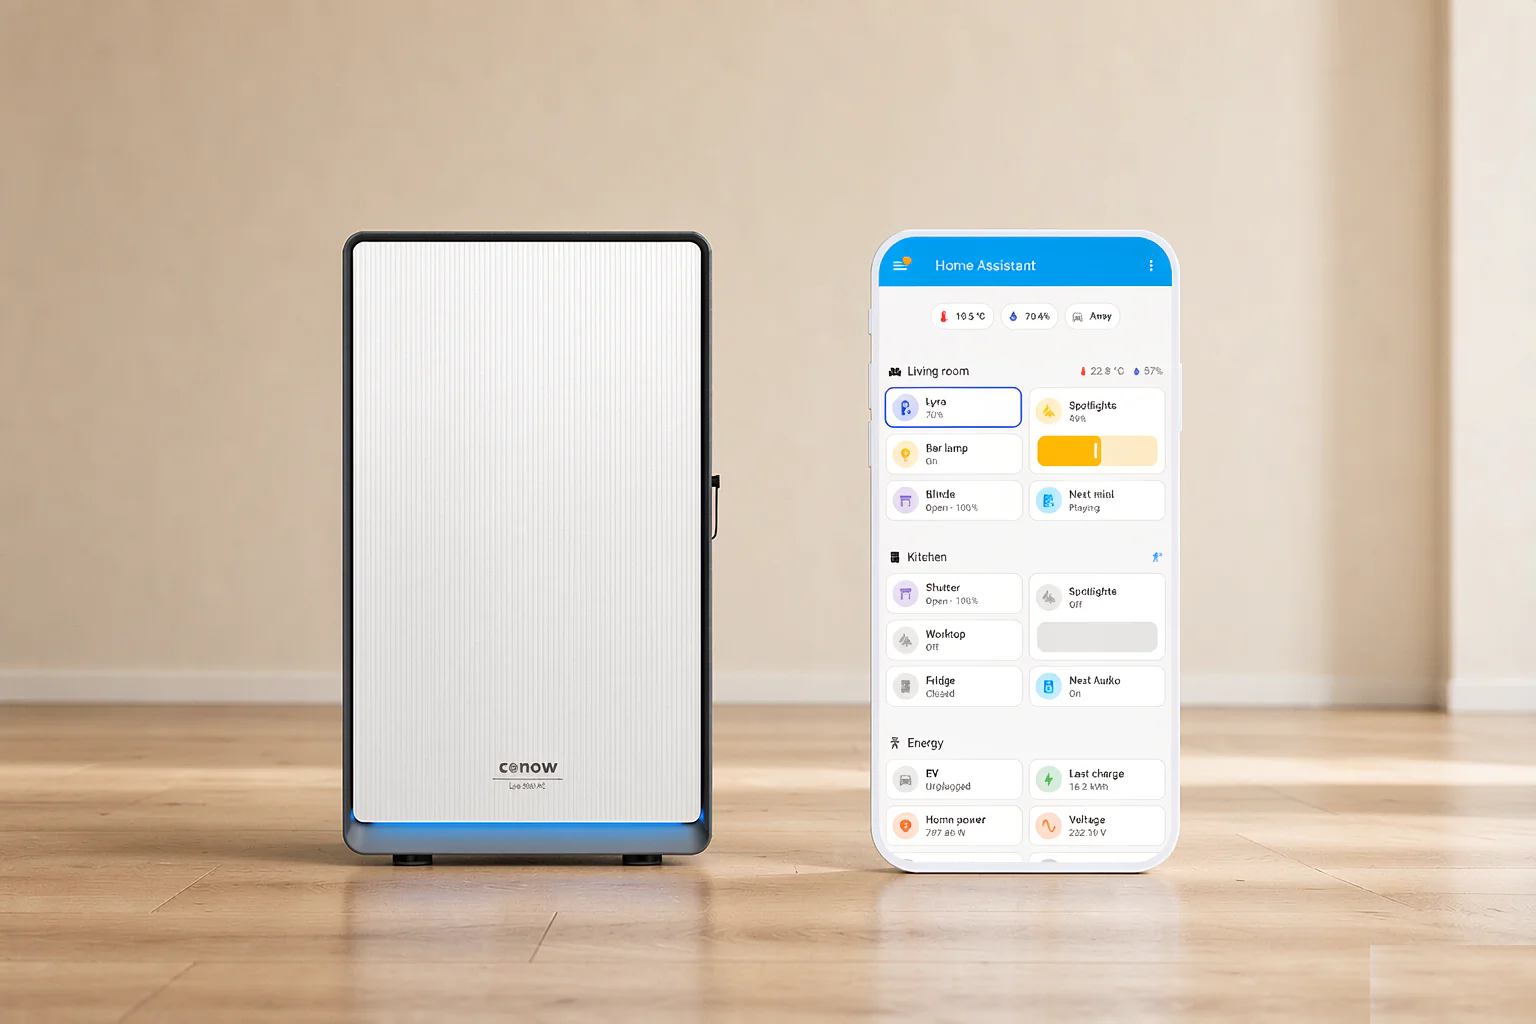
Bring your Conow battery into Home Assistant over local Modbus. See solar, battery and grid power in real time—and build automations that keep working when the internet does not.
A small RS-485 adapter creates a direct link between your Conow device and Home Assistant. No round trip to a remote server. No account required for everyday use.
If you already run Home Assistant, the only new hardware is usually the adapter and two signal wires.
Lyra, CBE or Atlas balcony-solar / all-in-one energy storage.
Activated once in Conow ECOHome Assistant OS, Supervised, Container, or a local development install.
HACS installedUSB-to-RS-485 adapter, or a Modbus TCP ↔ RTU Ethernet gateway.
Isolated adapter recommendedConnect RS-485 A to A and B to B. Keep the run tidy and away from mains.
Check device port labelFollow these steps in order. The two App steps are required even though your final connection is fully local.
Commission your Conow device and bring it online in the Conow ECO App at least once. This initializes the RS-485 interface.
The physical port remains disabled until this switch is enabled.
Power down before wiring if your product manual requires it. Match the labels on both ends: A → A and B → B. Then connect the adapter to your Home Assistant host.
| Serial settings | 38400 · 8N1 |
| Slave address | 160 (0xA0) |
| Typical port | /dev/ttyUSB0 (Linux) · /dev/cu.* (macOS) |
| What you connect to | RS-485 ↔ Ethernet adapter |
| Host / IP | adapter IP, e.g. 192.168.1.50 |
| TCP port | 502 |
| Slave address | 160 |
Choose your connection type, then enter the matching values:
| Device name | Anything you like |
| Serial port | /dev/ttyUSB0 |
| Slave address | 160 |
| Baud rate | 38400 |
| Device name | Anything you like |
| Host / IP | e.g. 192.168.1.50 |
| TCP port | 502 |
| Slave address | 160 |
Within a few seconds, Home Assistant should show battery, solar, grid and status entities. Add the energy sensors to a dashboard or use controls in an automation.
The integration maps Conow’s Modbus registers into familiar Home Assistant platforms.
Live power, lifetime energy, voltage, frequency, battery state of charge and cell temperatures.
Binary sensors reveal standby, fault, charging and discharging states at a glance.
Adjust charge/discharge power, backup reserve, off-grid output, curtailment and forced modes.
While Home Assistant is actively polling over Modbus, the device follows Modbus commands—not App/cloud targets. Stop polling or disconnect RS-485 to let App/self-consumption control resume. The two paths do not combine.
Confirm External Control / ModBus RTU is enabled, the device was activated once, the slave address is 160, baud is 38400, and A/B polarity matches the device label.
Unplug the adapter, list serial devices, plug it back in, then compare. Linux paths are commonly /dev/ttyUSB0 or /dev/ttyACM0; on macOS use /dev/cu.* (prefer /dev/cu.* over /dev/tty.*). In Docker or a VM, also enable USB passthrough.
This usually points to wrong serial settings, wiring noise, an incompatible gateway, or the wrong unit ID. Restore 38400 8N1 and unit 160, then retry with only one Modbus master connected.
This is expected while Modbus communication is active. Home Assistant has runtime priority. Disable/reload the integration or disconnect the link when you want cloud/App logic to take control again.
The integration writes, waits 0.3 seconds, and reads the complete register set back. Check that required target power and cutoff SoC values are valid before using force charge or discharge.
Open source, fully documented, and built for people who like to make things work their way.